| Copyright Notice | Home Page |
| HOMEMADE GAITERS |
| In the past, I have never taken gaiters on a backpacking trip. I could never justify the cost and weight for those rare occasions when I wished I had some. But after returning from a trip during which I did a lot of wishing, I decided to try and make a pair of lightweight gaiters. |
|
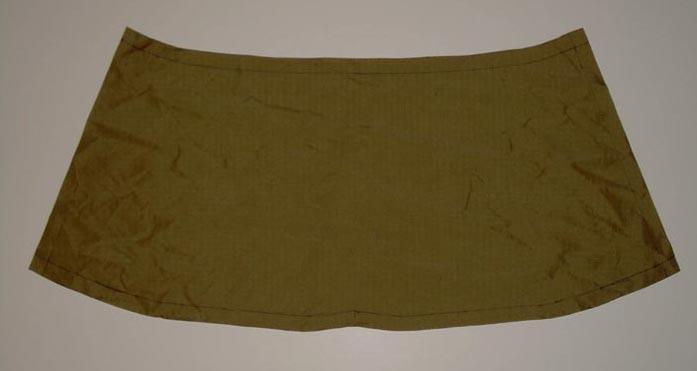
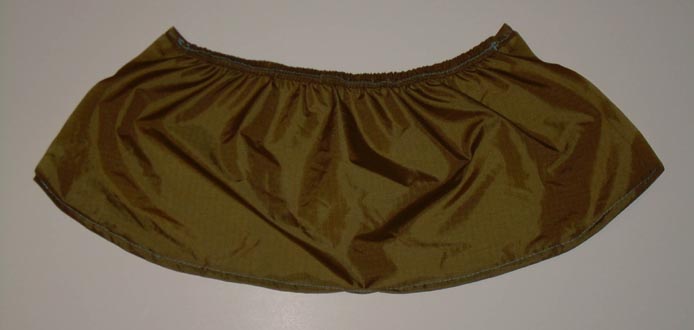
| I cut a scrap of polyurethane coated ripstop nylon to shape. Coming up with the right size and shape took quite a bit of trial and error. I made full size mockups out of paper and kept modifying them until I had a pattern that fit both my hiking boots and trail runners. |
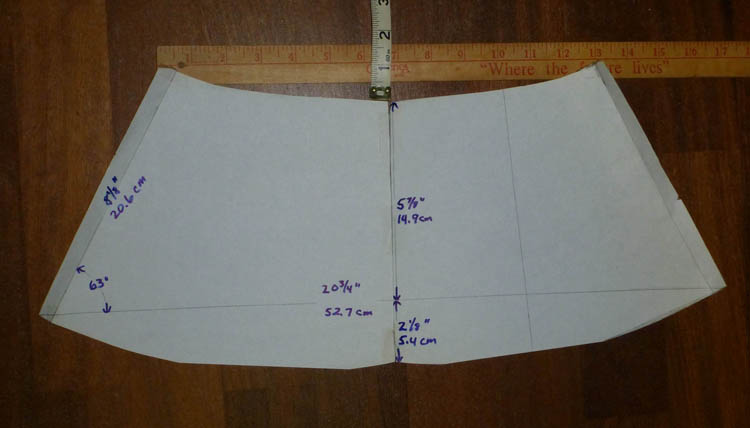 |
| As a starting point, here is the pattern I made, with dimensions, for a U.S. men's size 13 shoe. |
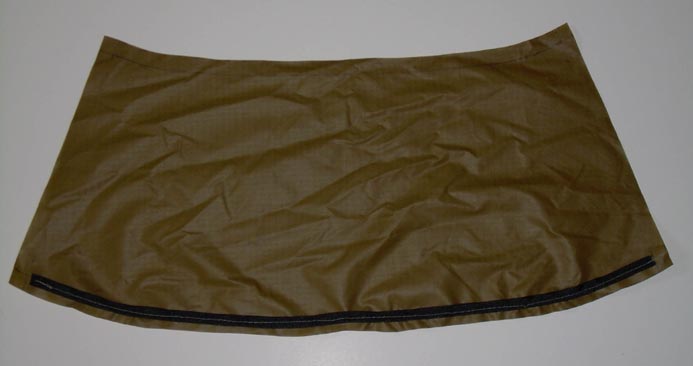 |
| On the inside (PU coated side), I sewed a length of 3/8" wide grosgrain ribbon along the bottom. I speculated this would stiffen the bottom edge of the gaiter and provide a better fit where it contacted the boot. It would also reinforce the attachment points for the instep cord. |
 |
| I made a rolled hem (around the grosgrain ribbon) at the bottom of the gaiter. Next, I sewed a strip of elastic on the outside (uncoated side) at the top of the gaiter. The reason for placing the elastic on the outside was so I would end up with a smoother inner surface where the gaiter cinched around my ankle. |
 |
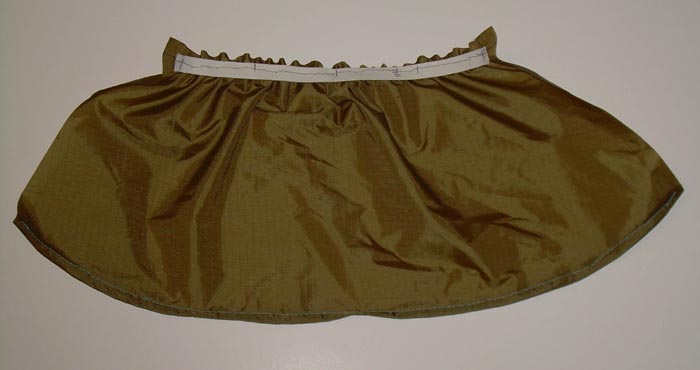
| I made a rolled hem (around the elastic) at the top of the gaiter. |
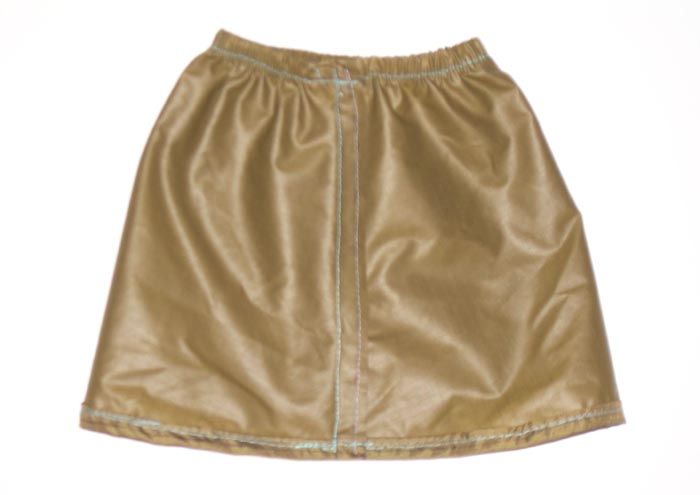 |
| With the gaiter inside out, I sewed the ends together. A pullover type gaiter is more of a hassle to put on than one with a zipper or hook and loop closure. But I don’t anticipate using them very often, so simplicity of construction won out. |
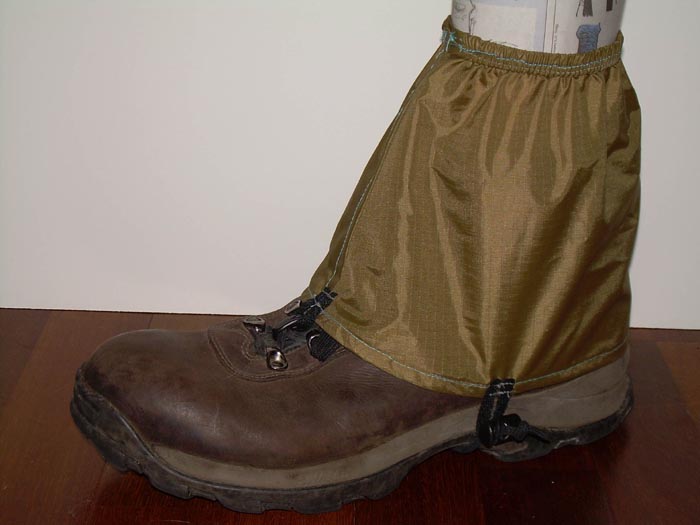 |
| I didn’t have any gaiter lace hooks on hand so I used a 1/8" cord hook as a substitute and attached it to the gaiter with a short length of an old shoelace. Loops, also made of short lengths of shoelace, were attached on each side. The instep cord is tied to the inside loop. The other end of the instep cord goes through a cordlock. To secure the instep cord, the cordlock is fed through the outside loop and the cord is pulled tight. Once through the loop, the cordlock turns sideways, which prevents it from slipping back through. |
When I field tested the gaiters, the instep cord remained secure. However, I noticed the cordlock was very low to the ground, which made me wonder whether it would be susceptible to damage in rough terrain. To raise the cordlock, one could use a grommet in the side of the gaiter or a much smaller loop. Either of these options would require threading the instep cord through the grommet or loop before feeding it through the cordlock. Or it could just be tied off. Another alternative is to eliminate the instep cord altogether by gluing a piece of Velcro on the back of the heel of the shoe and sewing a matching piece of Velcro on the inside of the back of the gaiter. For example, check out how Dirty Girl Gaiters are attached. |
I also discovered the height of the gaiters was about an inch lower than I had planned. That was the result of miscalculating the hem allowance. They do the job but if I were to do it over again I would increase the height by one to two inches. |
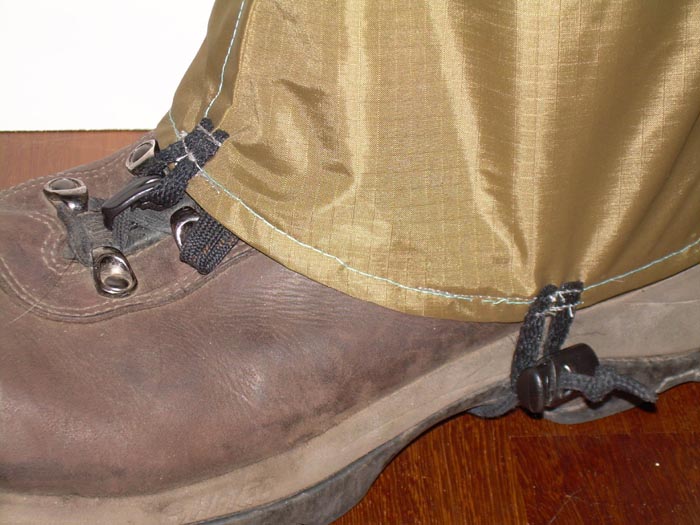 |
| This is a closeup showing the lace/cord hook and the outside attachment of the instep cord. |
The total weight of the pair of gaiters is 1.3 ounces. |
| Copyright 2012
David Guenther |
| Copyright notice |